Thonny
Raspberry Pi PicoにMicroPythonのプログラムを書き込むには Thonny というアプリを使います。
Thonnyのインストール
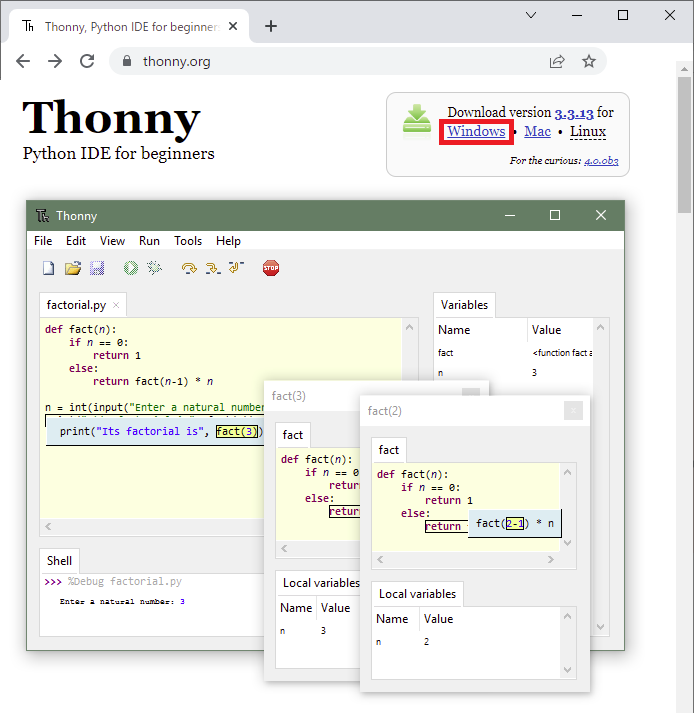
Thonnyのホームページを開きます。
Windows版のダウンロードのリンクをクリックします。
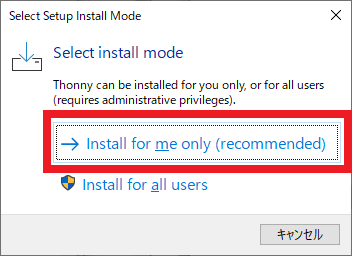
Install for me only をクリックします。
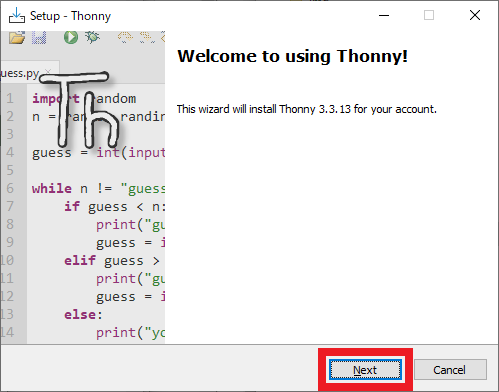
Next をクリックします。
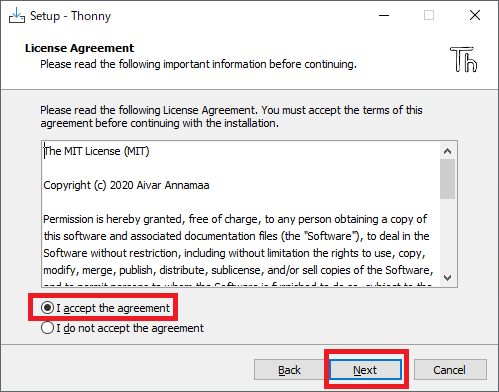
I accept the agreement を選択してから、 Next をクリックします。
Next をクリックします。
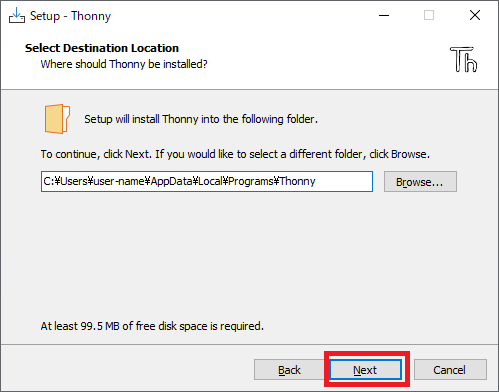
Next をクリックします。
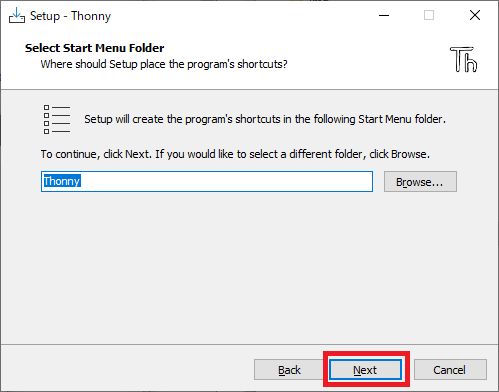
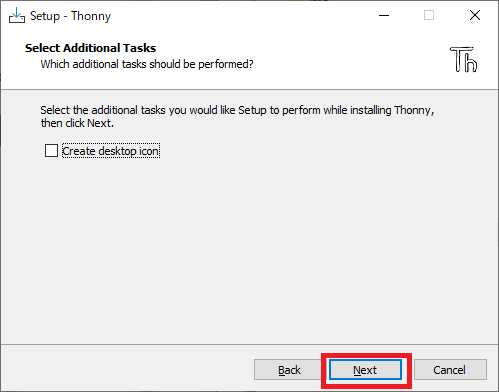
Next をクリックします。
Install をクリックします。
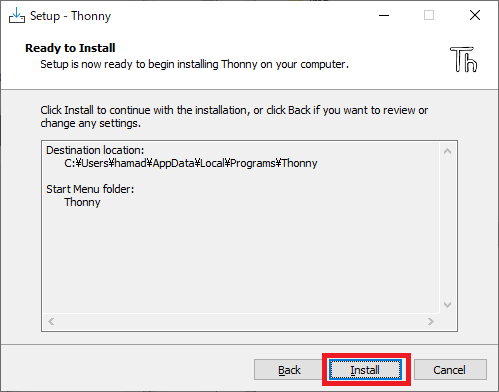
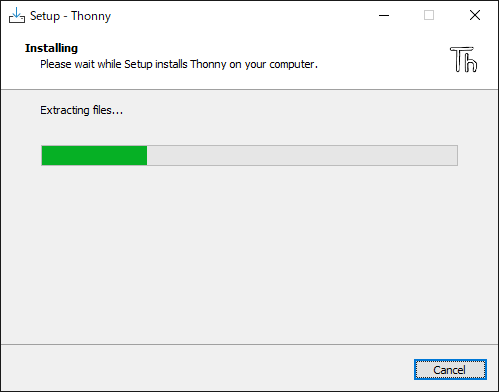
インストールが始まります。
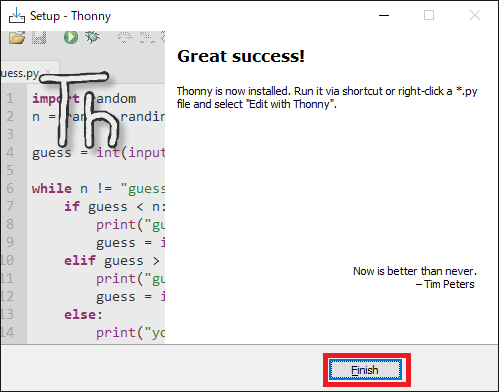
Finish をクリックします。
MicroPythonのアプリをRaspberry Pi Picoに書き込み
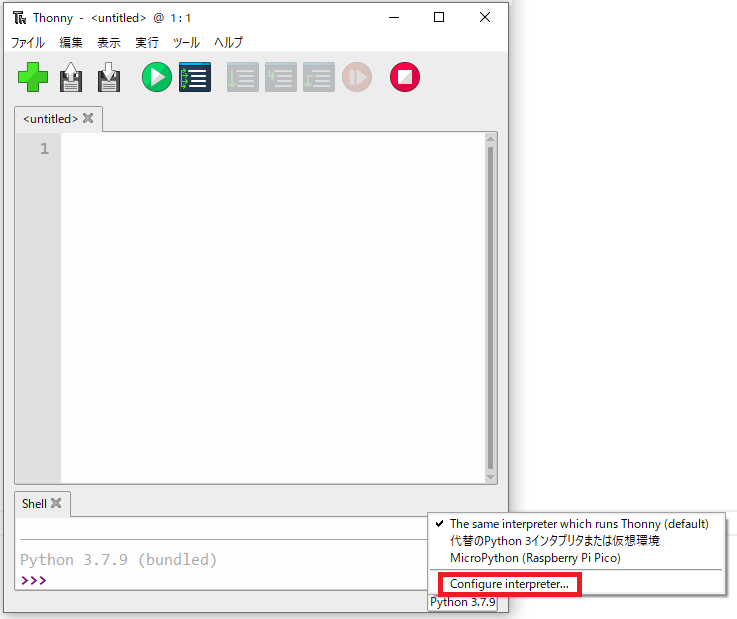
Thonnyを起動し、ウインドウの右下をクリックし、 Configure interpreter をクリックします。
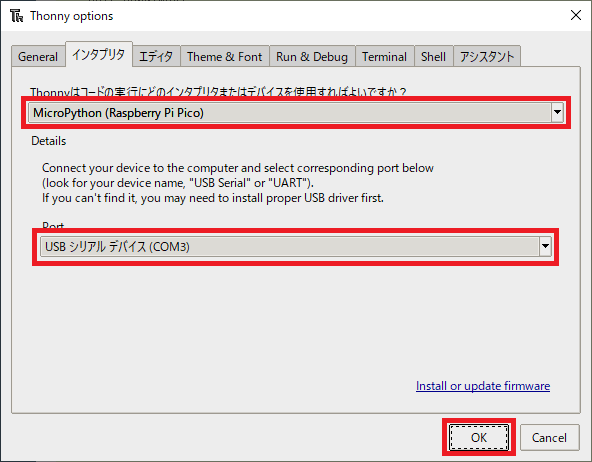
MicroPython (Raspberry Pi Pico) と USB シリアルデバイス を選択してから、 OK をクリックします。
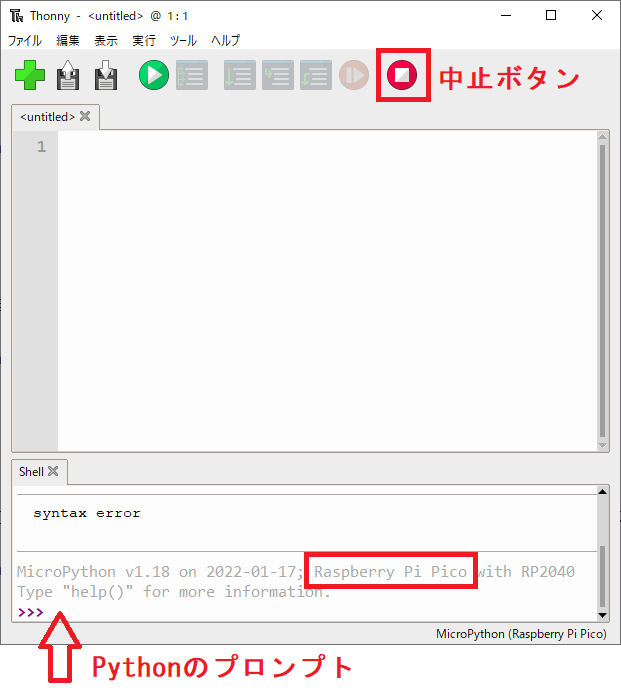
画面右上の中止ボタンを押すと、Raspberry Pi Picoと接続してPythonのプロンプトが表示されます。
アプリのソースの picomain.py を適当なエディタで開き、コードをすべて選択してコピーします。
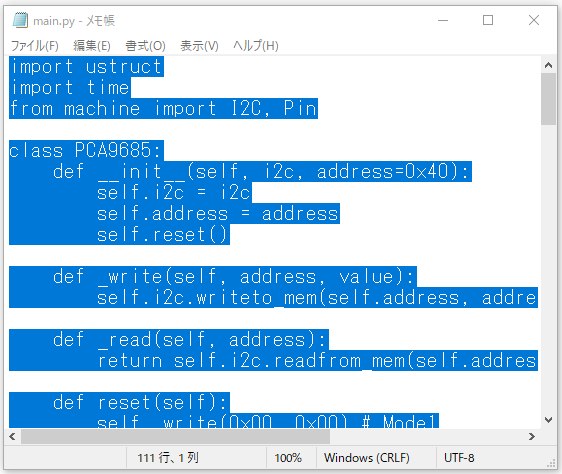
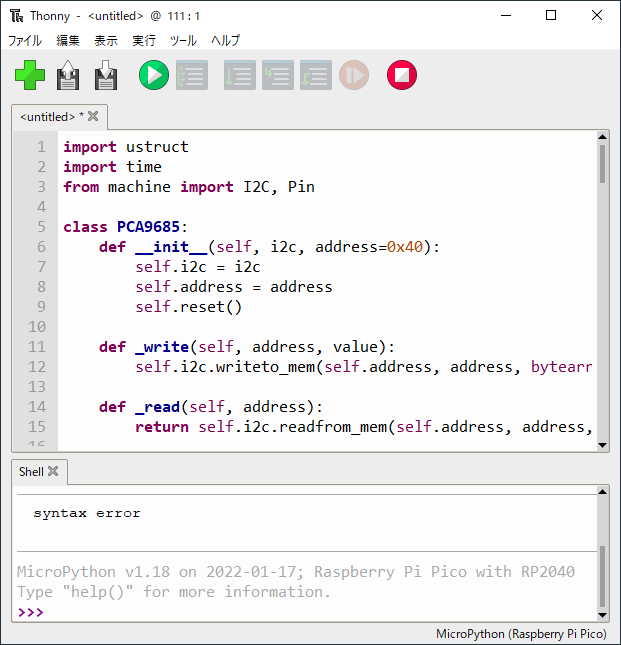
Thonnyのエディタ部分にコードを貼り付けます。
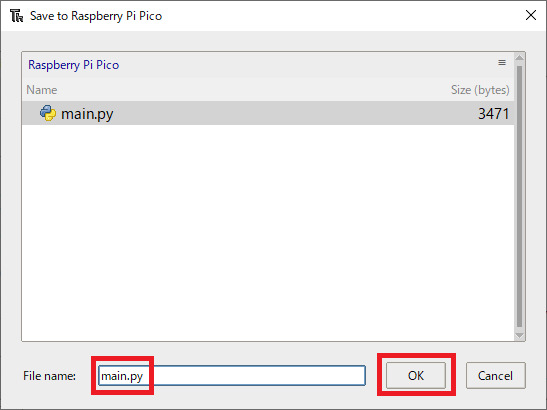
ツールバーの Save ボタンをクリックすると、ダイアログが表示されるので Raspberry Pi Pico をクリックします。
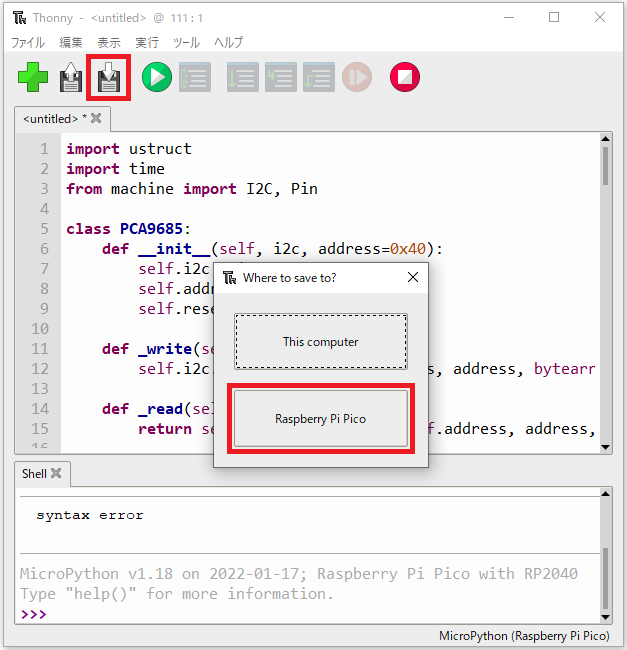
main.py というファイル名で保存します。
Thonnyを終了してから、Raspberry Pi PicoのUSBをはずして挿入しなおすと、書き込んだmain.pyが自動的に実行されます。